
How to Screenshot on Windows: A Quick Guide
“Learn how to screenshot on Windows and Windows 10 with our quick and easy guide. Capture your screen today!”
How to Screenshot on Windows:
A Quick and Easy Guide
Are you wondering, “How do I screenshot on Windows?” or “How do I screenshot on Windows 10?” You’re not alone. Many users find themselves asking these questions. I was honestly very surprised when I saw the number of times this question was asked per-month on google and on youtube. So I decided to answer this question for everyone and don’t worry, taking a screenshot on Windows is a simple process. Here’s a quick guide to help you out.


Follow These Simple Steps
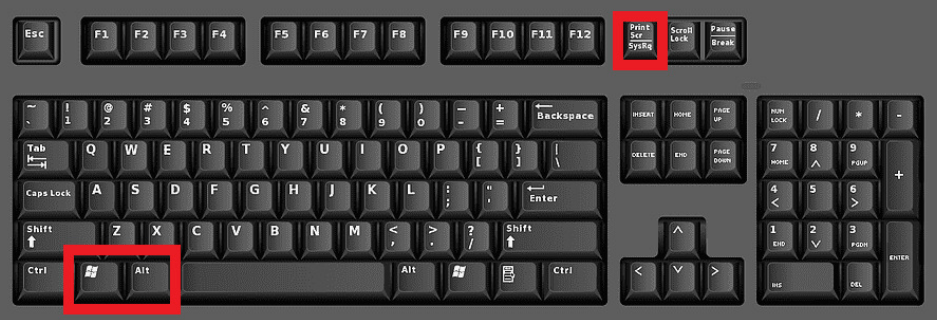
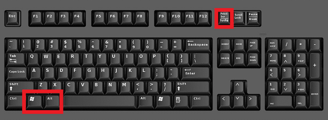
Locate the PrtScn (Print Screen) button on your keyboard. It’s usually found in the upper-right corner, near the F12 key. Locate the Windows Key it is at the far left bottom corner to the immediate right of Ctrl. Locate the Alt Key it is to the immediate right of the Windows key.
Press all three of the buttons at the same time.
The screenshot will be saved to C:UsersAdminPicturesScreenshots
Save the file in your desired location.
And voila! You’ve taken a screenshot on Windows.
Snip & Sketch: A More Precise Way to Screenshot on Windows
In our previous section, we discussed the traditional method of taking screenshots on Windows. But what if you want to capture only a specific part of your screen? This is where the Snip & Sketch tool comes in handy. It’s another answer to the questions “How do I screenshot on Windows?” and “How do I screenshot on Windows 10?”
Snip & Sketch allows you to take more precise screenshots, giving you the freedom to choose exactly what you capture. Here’s how to use it:
Open Snip & Sketch: Press the Start button, type “Snip & Sketch” in the search bar, and select it from the list.
Take a new snip: Click on New in the Snip & Sketch window. Your screen will fade, and a mini menu will appear at the top.
Choose the type of snip: You can choose from Rectangular, Freeform, Window, or Fullscreen snip.
Select the area: Click and drag to select the area you want to capture if you chose Rectangular or Freeform snip.
Save your snip: Once you’ve taken your snip, it will open in the Snip & Sketch window. Click on the disk icon or press Ctrl + S to save your screenshot. So there you have it! Another way to screenshot on Windows and specifically on Windows 10 using Snip & Sketch. This tool gives you more control over what you capture, making it a great option for more precise screenshots.
